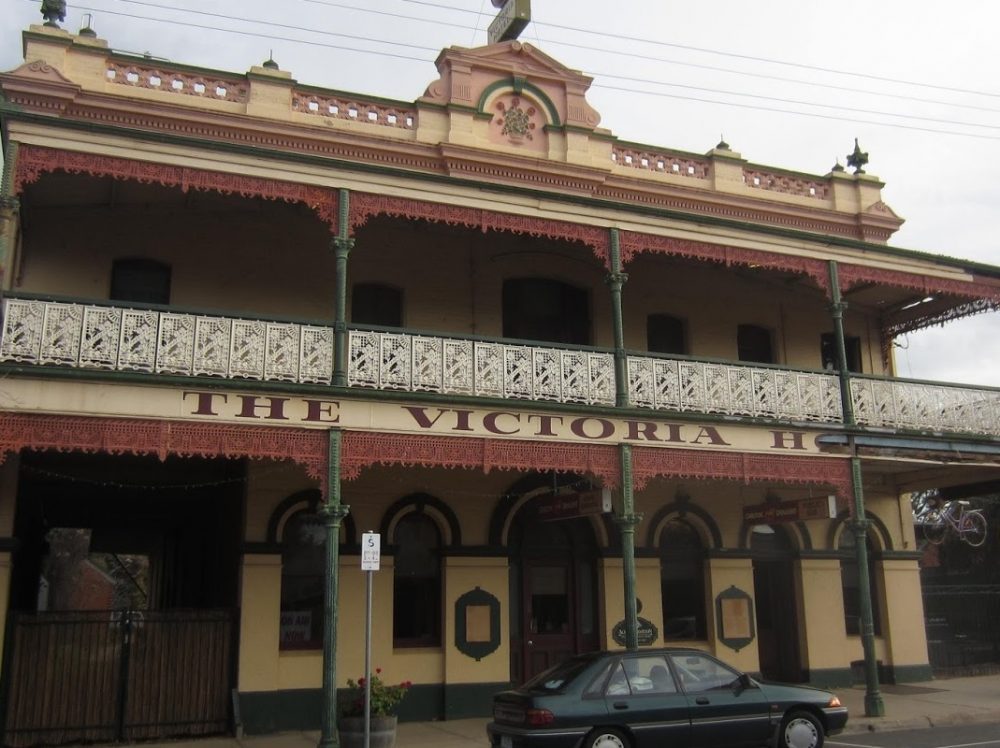
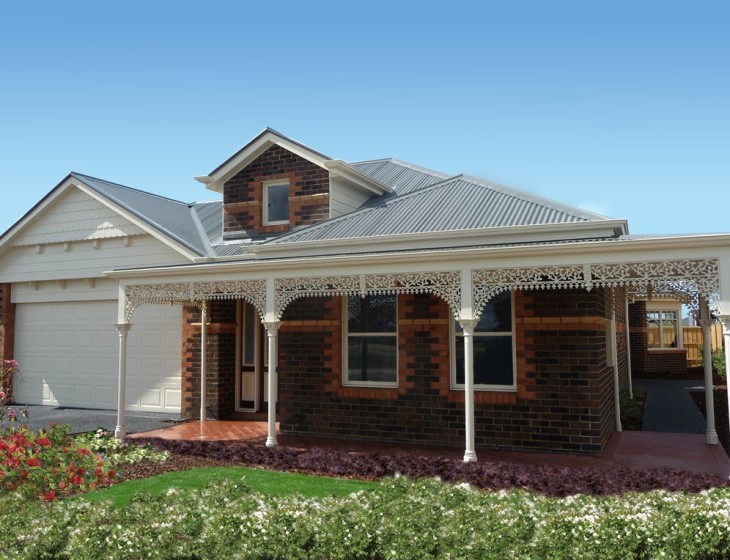
The Albert Park balustrade panel was a popular heritage balustrade panel on properties built between 1860 and 1900.It looks at home on a new heritage style property as it does on an old Heritage Property
Wrought Iron Recycled Art is created by utilising unwanted steel components making the most amazing designs.These unwanted items can be used to manufacture almost any design with the help of a few wrought iron components including leaves,rings,scrolls and decorative steel disks.
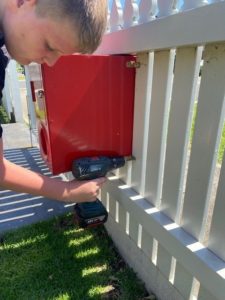
The Chatterton aluminium balustrade panels are installed in between the aluminium handrail and the aluminium bottom rail.Fixing is made simple when self tapping hexagon head screws are used. Installation of the top rail to the posts with the assistance of the handrail fixing brackets at the suggested height,usually one metre from the floor to the top of the rail.This is done first then the verandah panels are installed underneath the top rail.You may find it easy to then set the bottom rail in order to fit the panels to.You will need to trim the panels to fit,unless using a panel requiring spaces between them.It is important to use a spirit level to make sure the top rail is level.
Chatterton Lacework advises that all the corner sections of the lacework must be installed first by holding the corner into the top section of the post and fixing it to the post and the beam above with plasterboard or wood screws utilising the fixing lugs on the corner.
Once the corners are attached the decorative dropper is installed in the centre of the span between the two posts to the beam.After fastening the dropper to the beam,the lacework is fixed by fitting one section of frieze to the edge of the corner.This is done on both corners on either side of the span.Any lace overhanging the dropper must be cut neatly to fit behind the decorative dropper.Repeat this process on the lacework on the opposite side of the span.
If there is a gap between the frieze and the dropper as a result of the span being wider,cut a small section to join onto the lace to fit behind the dropper
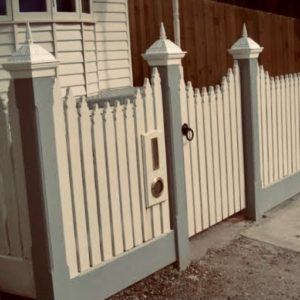
These post caps are similar to the Nicolena range of post caps in that they are the same shape however with a decorative acorn cap. They are suitable for any heritage style fence and are available to fit a range of post sizes
This is a very popular heritage post cap design that looks great on any heritage style fence or gate post and also very suitable for modern style fencing as it gives a finish to a fence post combined with the fact it protects the post from continual dampness.
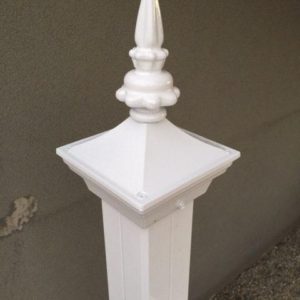
Angelina Post Caps are possibly the most popular decorative fence finial. These decorative post caps are also known as B48A Post Cap. They are manufactured in aluminium and are available in a range of traditional powdercoat colours.
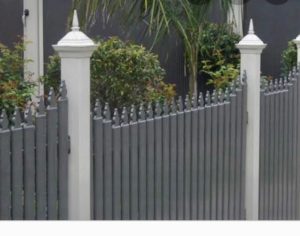
A popular design seen on many victorian fences,however looks at home on any federation style fence
This traditional ever popular heritage post cap fits neatly over the 90 x 90 tube. It is also available to fit over 100 x 100 and also 120mm.Other post sizes they are made for are 125 and 150 x 150mm
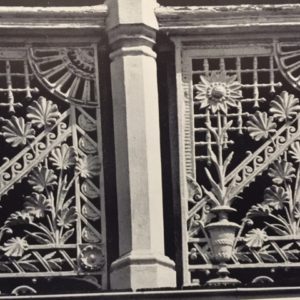


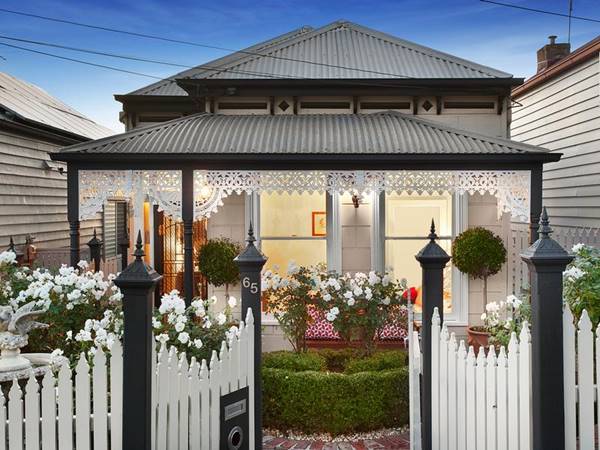
 Chatterton Lacework installation instructions.

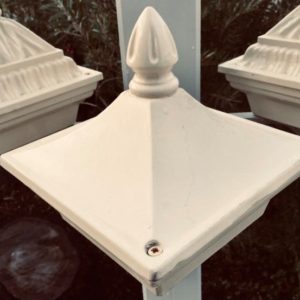
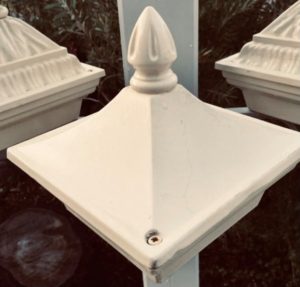 These post caps are similar to the Nicolena range of post caps in that they are the same shape however with a decorative acorn cap. They are suitable for any heritage style fence and are available to fit a range of post sizes
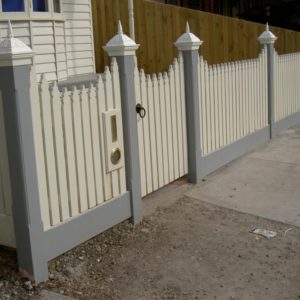


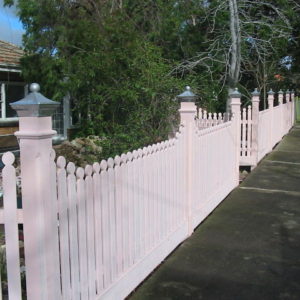
 This is a popular post capital, very similiar to the Angelina.It looks at home on a new style fence as it does on a 1900 picket style fence
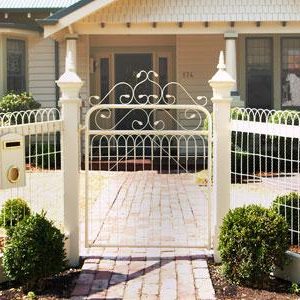


 A popular design seen on many victorian fences,however looks at home on any federation style fence
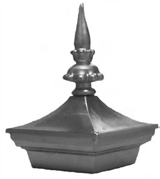